How to Make a Canteen Covering:
Step-by-Step
You may need to study the pictures and have a friend help you before trying this.
( click on thumbnails for enlarged detail)
 Canteen Gadget, invented by Dino Colamartino
(RIP 1958-2017)
Canteen Gadget, invented by Dino Colamartino
(RIP 1958-2017)
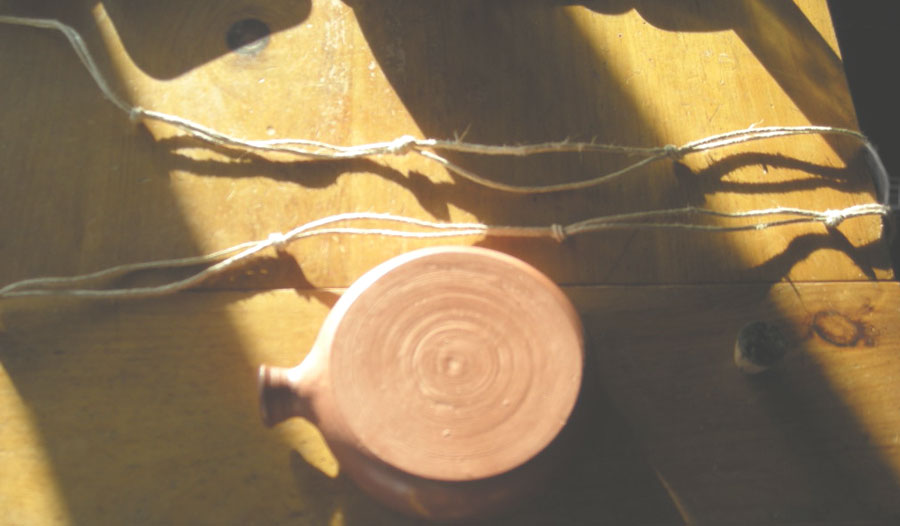
Step 1: Measure 2 separate lengths of rope, 4.5 meters each. Hemp is preferred, but 5-ply jute is okay too. In the US, hemp rope is available at WallMart (deliberately misspelled to avoid SPAM)
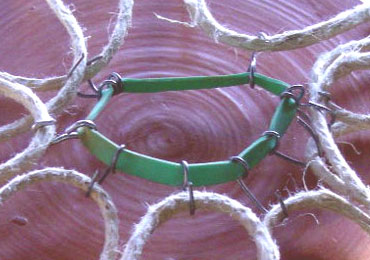
The secret to covering the canteen is inspired by winter snow chains used on automobile tires; there is a rubber circle with hooks that holds the chains together. This is a 3 inch elastic (above) that you can get when you buy vegetables at your local supermarket. The 10 S-hooks are made with steel wire and a pair of pliers. You will need 2 of these gadgets.

Step4: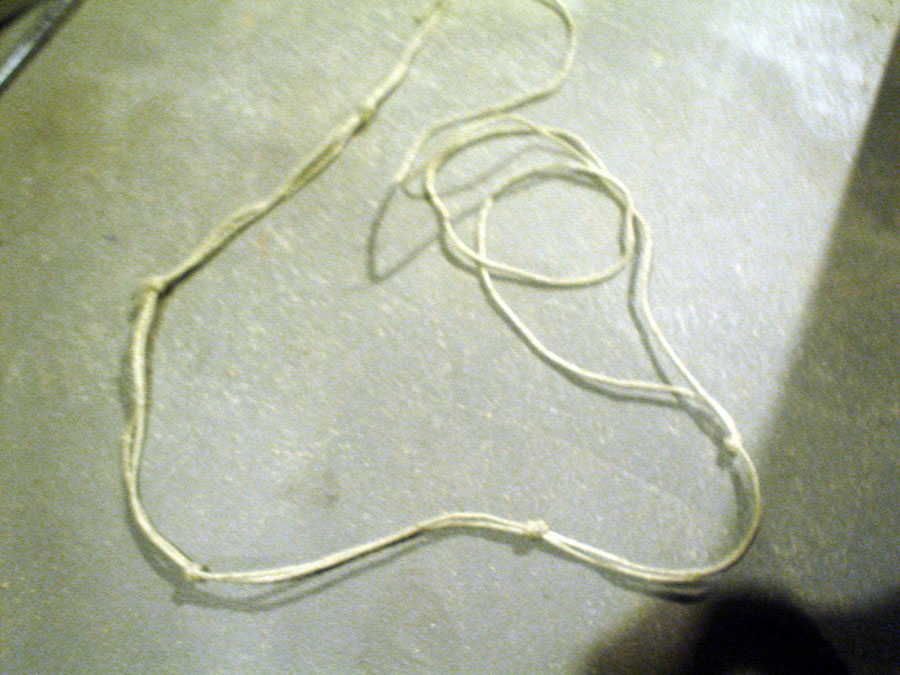
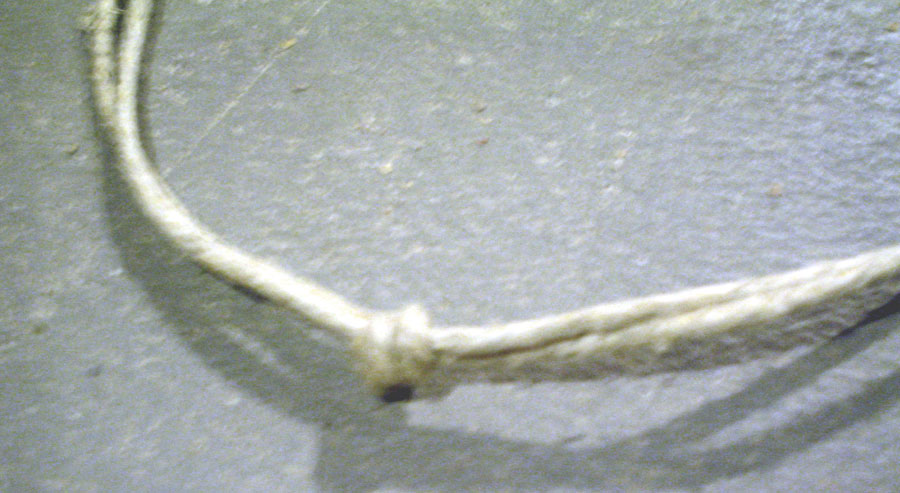
You should have 11 knots, 10 segments between 20-25 cm in length each segment.
Step5: Next, the rubber bands with 10 hooks are used, one on each side of the canteen, to hold the rope in place.

Step 6: Next, cut a 10 inch piece of rope,. This will be used to thread through the segments and replace the elastic
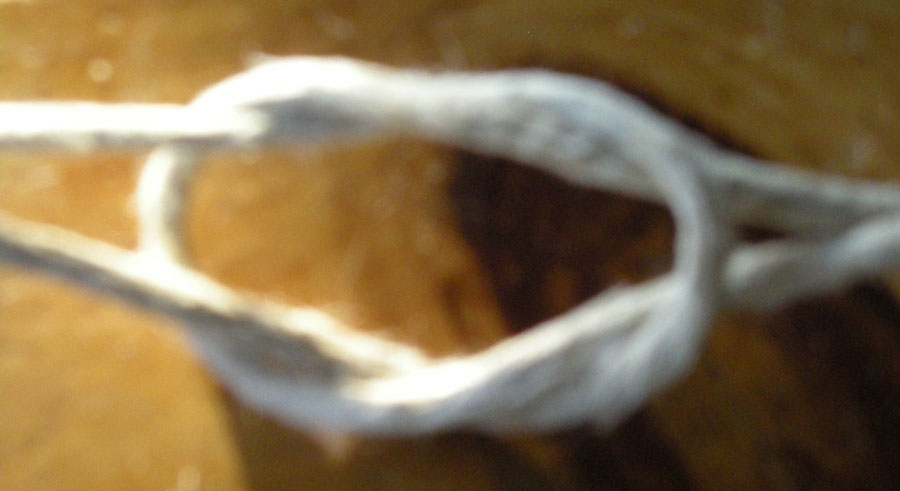
Step 7:Twist each segment into a loop.
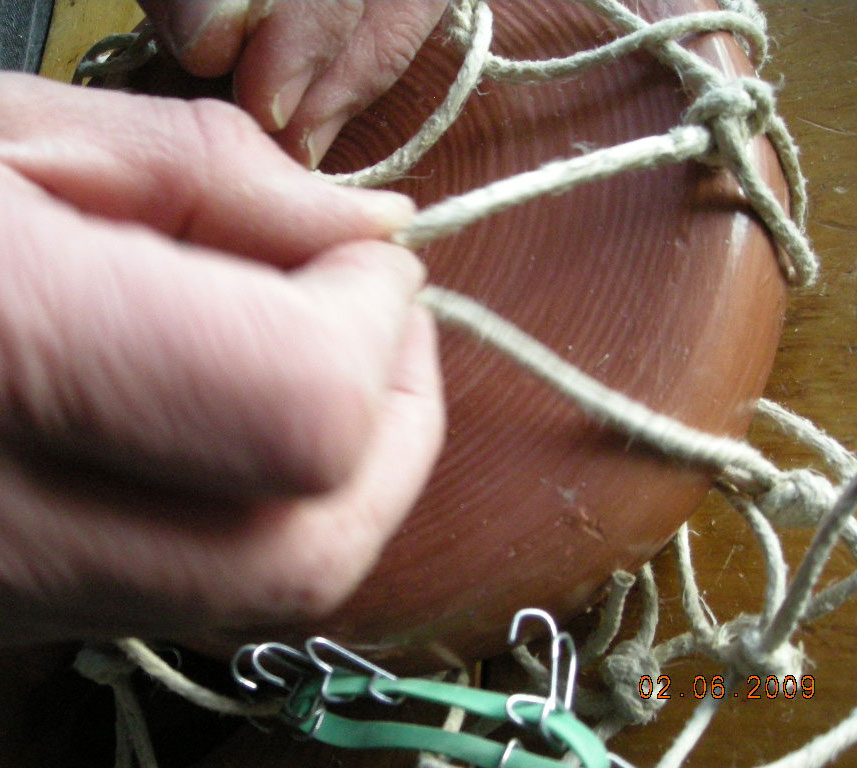
Step8: This is the tricky part. You will need to remove each hook one by one...
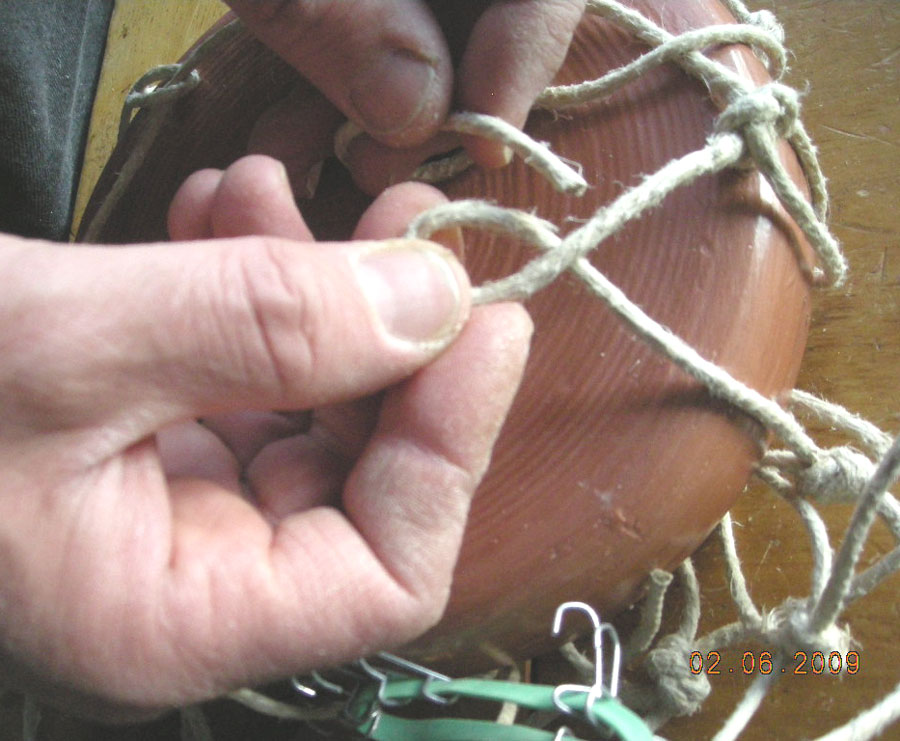
Step 9: ...threading the 10 inch rope through each one as you go.

Step
10
Step 11: Pull and tie. Do not make a permanent knot yet until you repeat steps 5-10 for the other side of the canteen. This will allow you to make the inner circles the same size when you tighten.

Step 12: When finished, tighten (you may want someone to hold their finger on the knot as you tighten) and trim the excess. SAVE the long pieces on either side of the neck These will serve to make a shoulder strap just by adding two or 4 lengths of rope and twisitng (4 lengths) or braiding(2 lengths) them into the long leftover pieces.
Questions? Please contact us at: